Soulithic

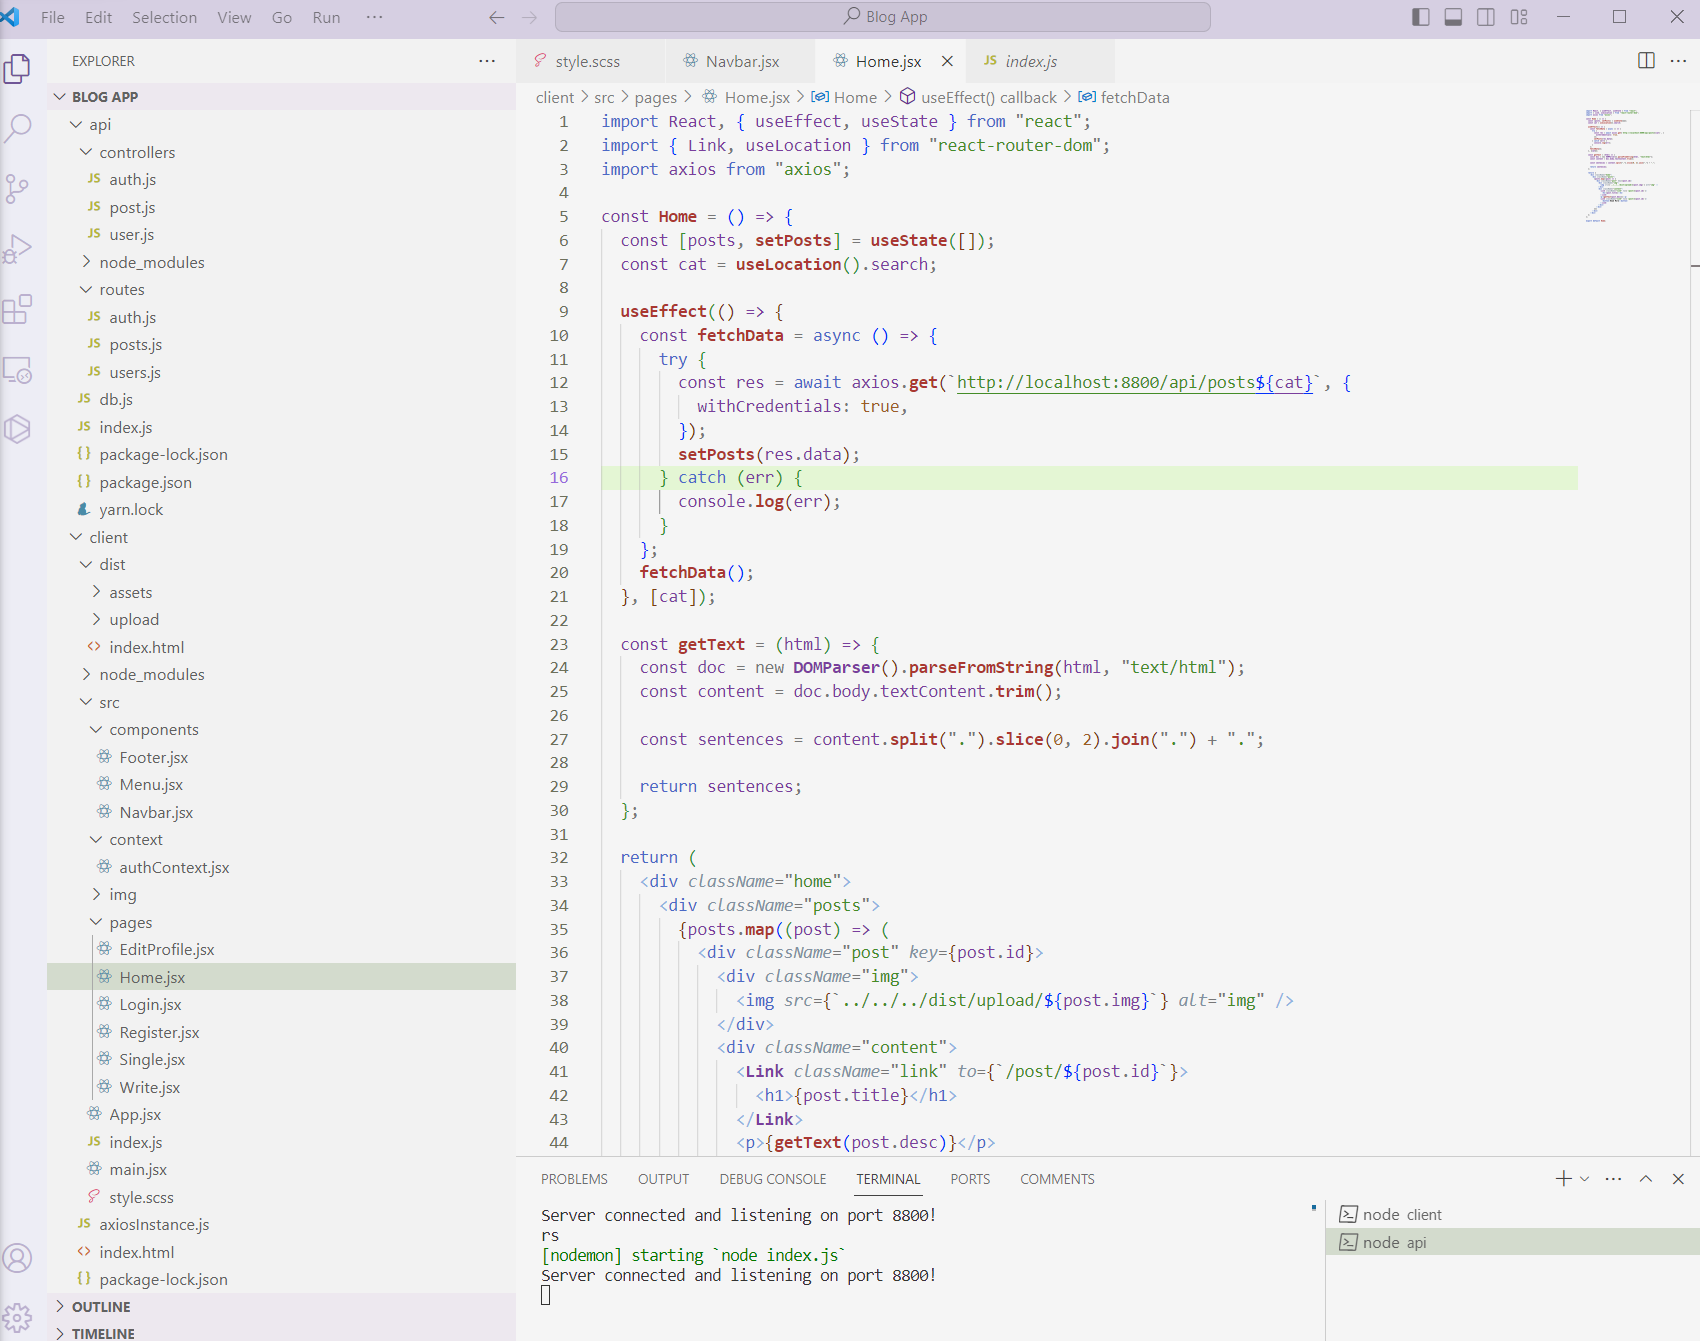
Developed a robust and user-centric blog application leveraging JavaScript (JSX), Express, Node.js, and MySQL for database management. The app encompasses a suite of functionalities including secure login features with robust backend authentication employing hash encryption and access tokens. The platform boasts a meticulously crafted interface featuring a dynamic home page, category-specific sections, and posts equipped with edit/delete capabilities, while intelligently recommending related content within each category.

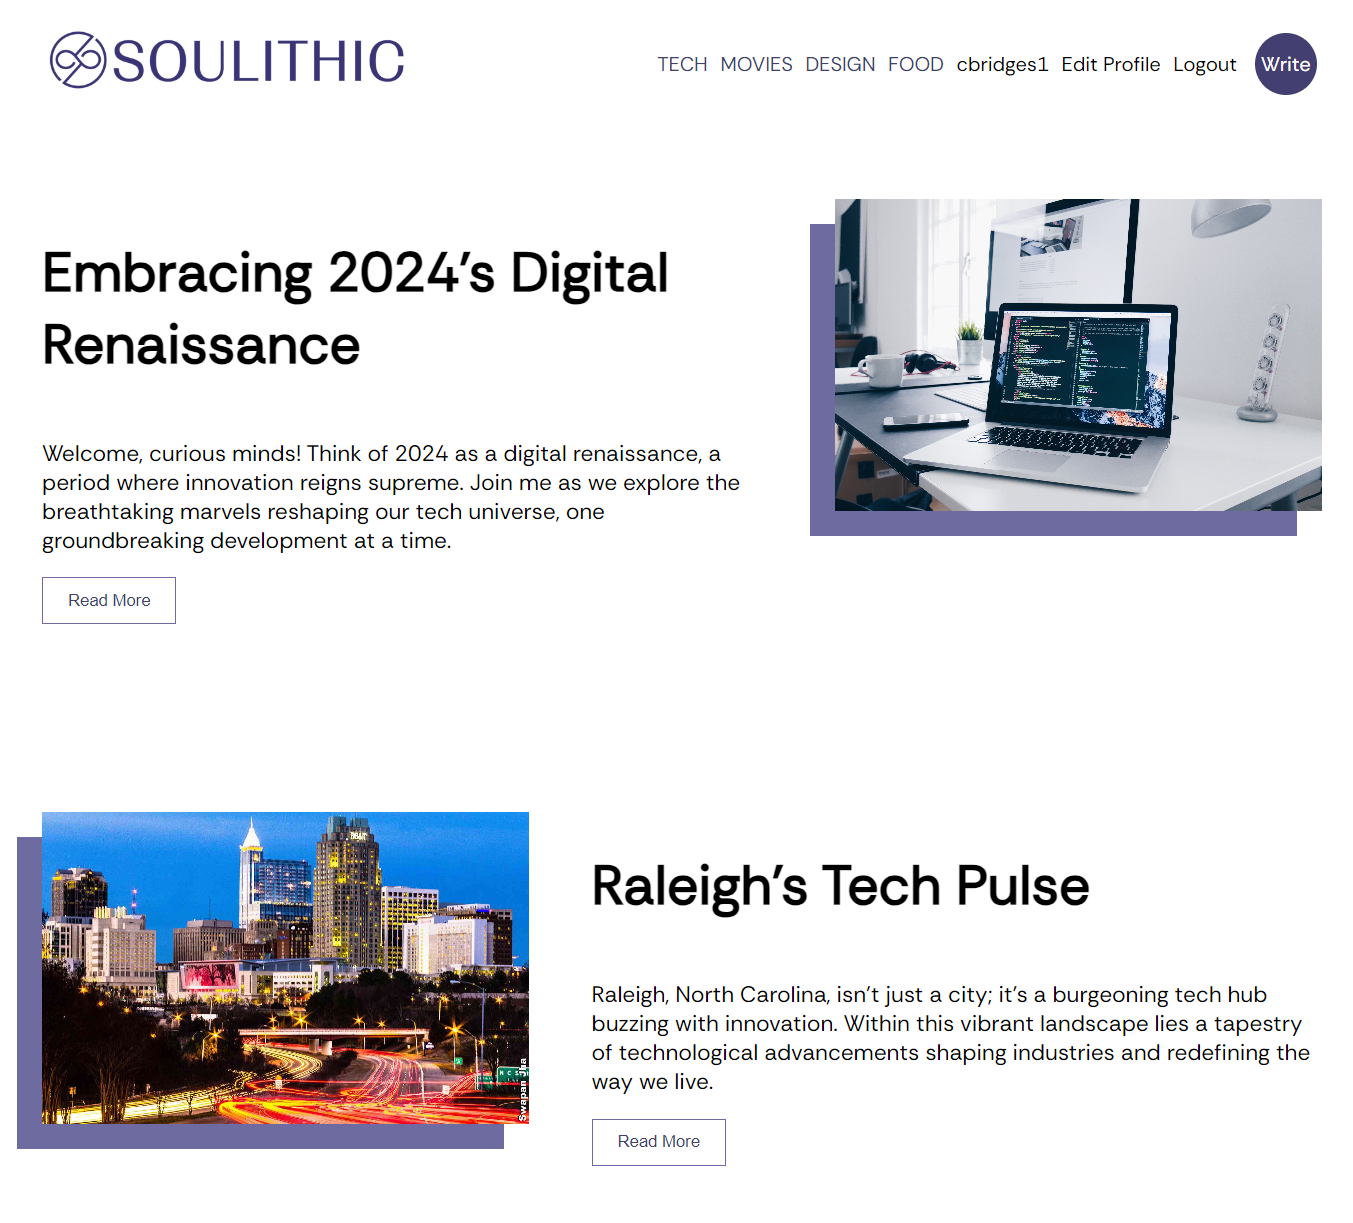
Its intuitive navigation includes category links on the navbar, user display, and an edit profile section for username and image modifications. Users can seamlessly log in or out, compose and publish posts with images, and assign them to specific categories, enhancing both the user experience and content organization.

Technologies:
Javascript, Express, Node.js, Mysql

The Process

Crafting the Soulithic Blog involved planning and executing using JavaScript (JSX), Express, Node.js, and MySQL for database management. Prioritizing security, the app integrated robust login and authentication systems employing hash encryption and access tokens.

The development process emphasized user-centric design, ensuring an intuitive interface with a populated homepage, categorized posts, and streamlined edit/delete functionalities. The app intelligently recommends related posts within categories and features a navbar displaying category links, user details, and an edit profile option.

Rigorous testing ensured a seamless experience for content publishing, facilitating post creation, image uploads, and category selection. The approach maintained technical precision while focusing on user interaction, resulting in an efficient and user-friendly blogging platform.

Process Step 1
Process Step 2
Process Step 3

Navigation

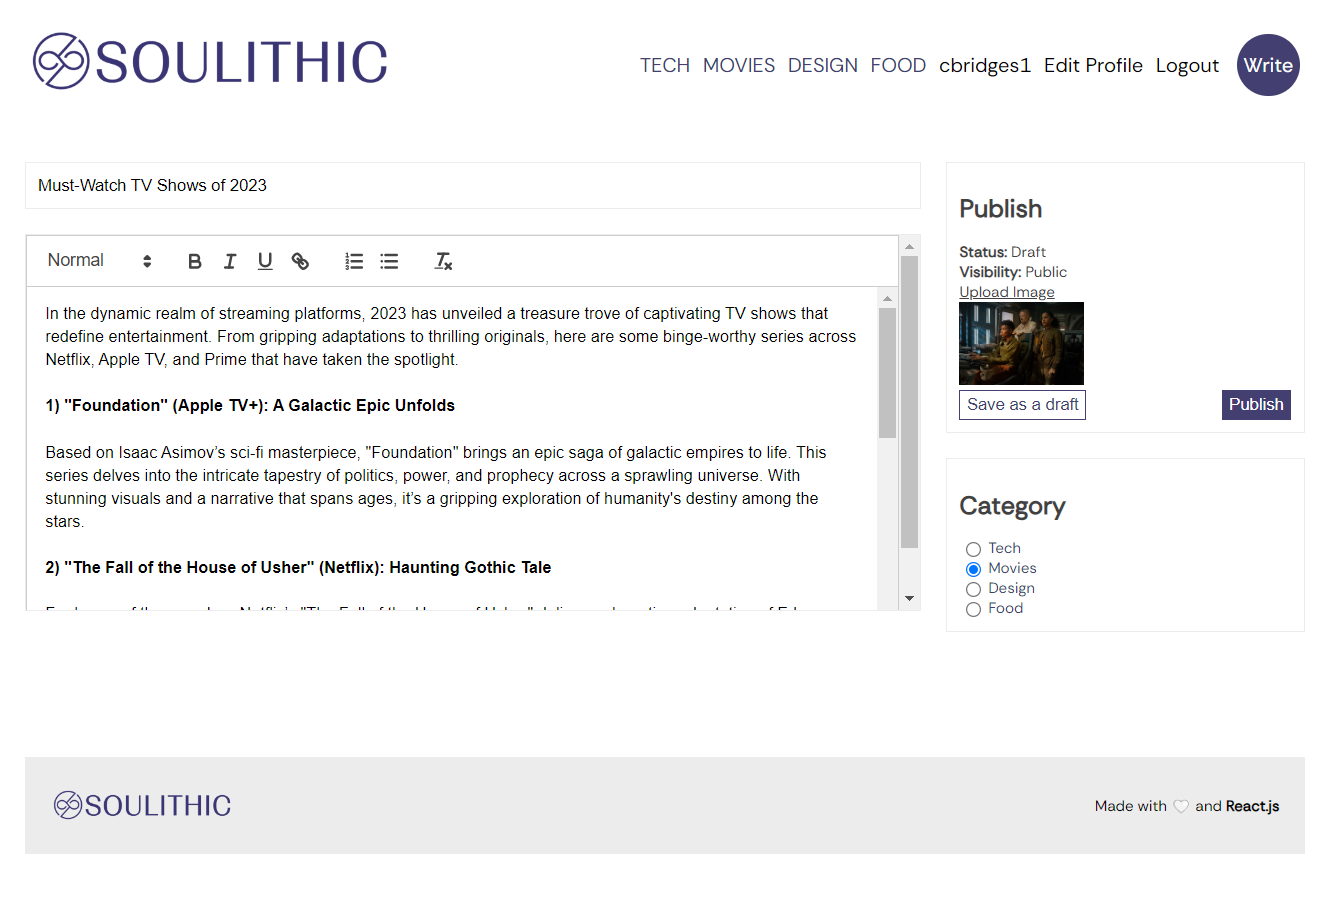
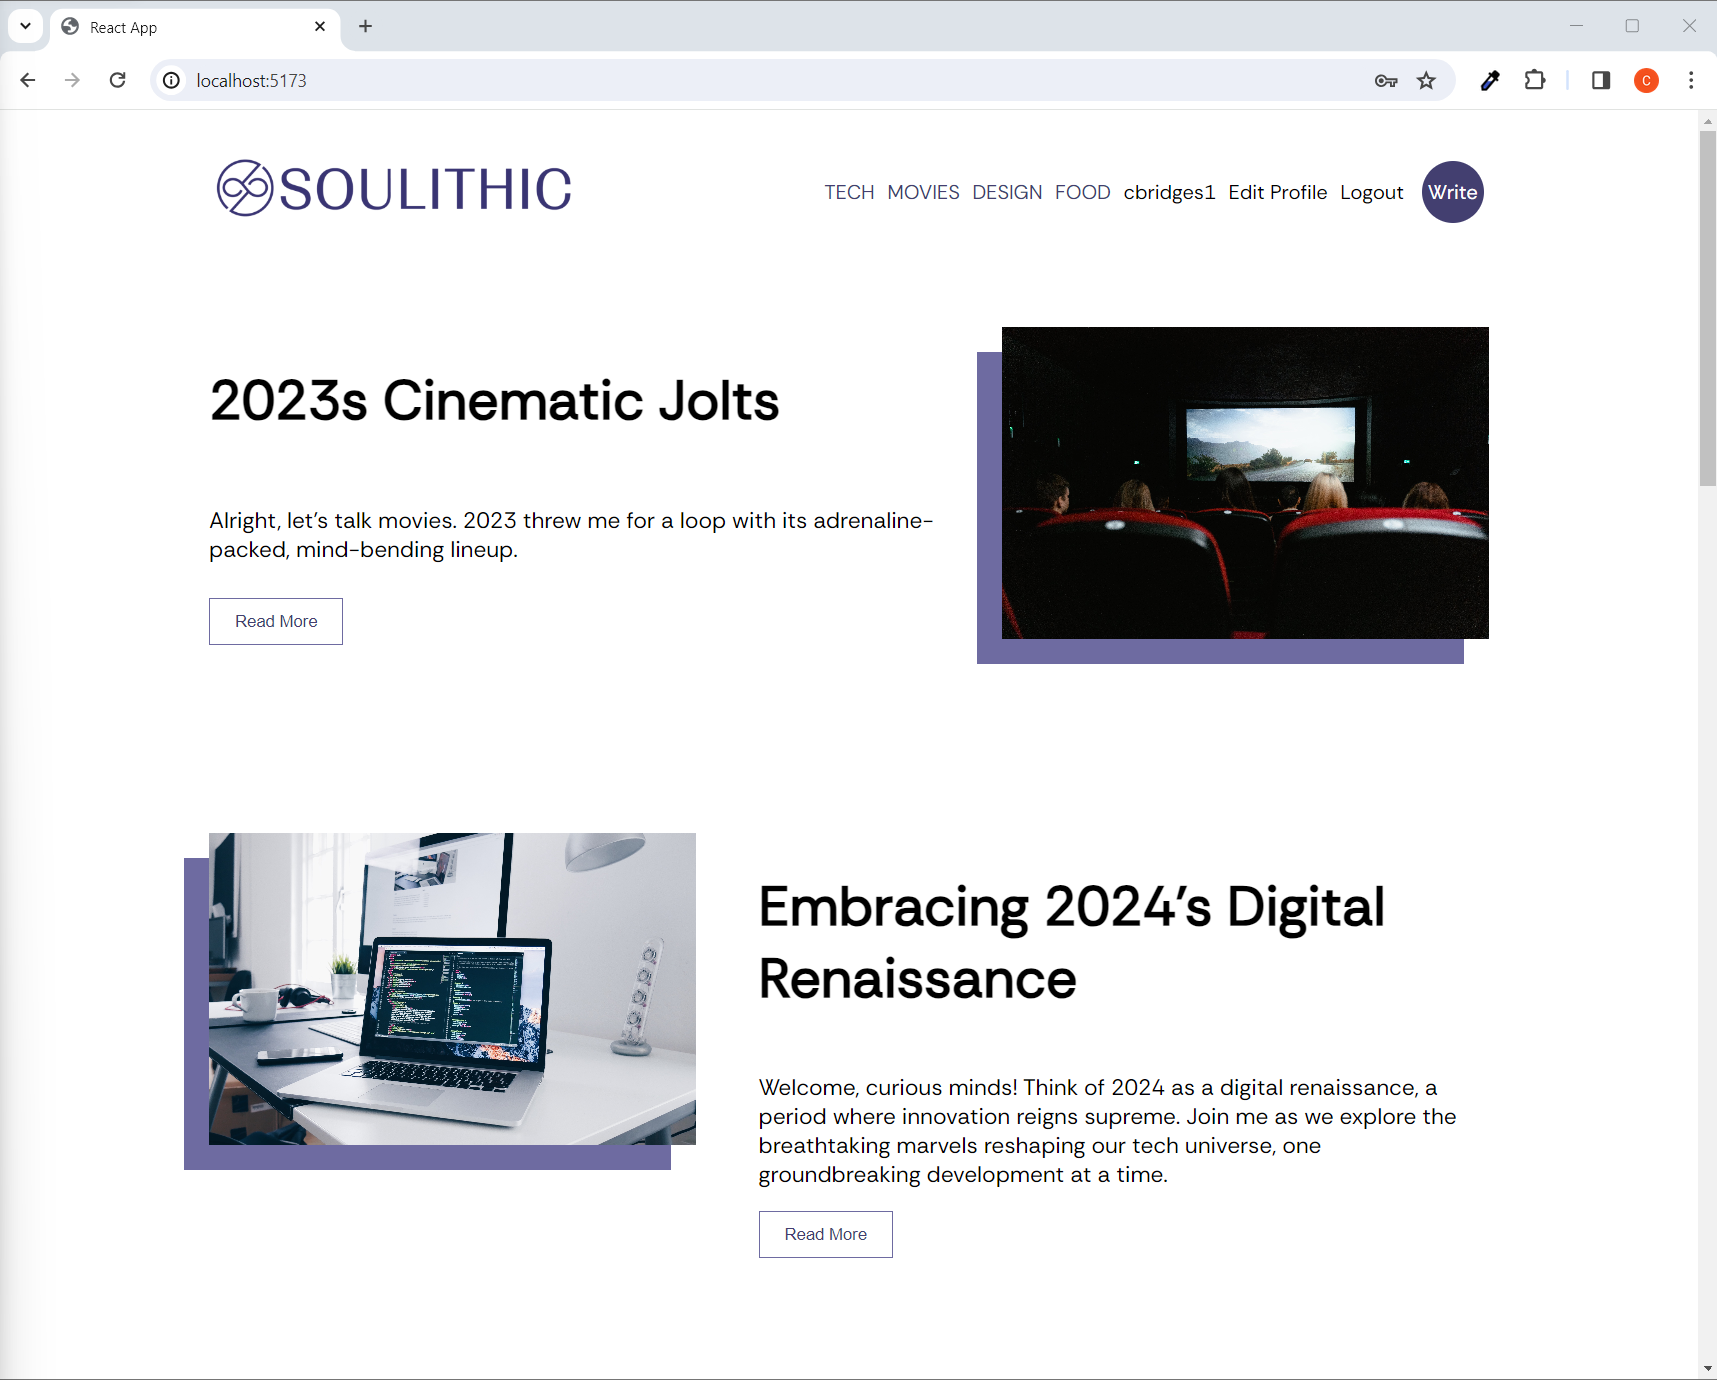
The Soulithic Blog presents an intuitive navigation system, allowing users to seamlessly explore posts and categories. With a well-organized structure, users can effortlessly discover and delve into various topics including tech, movies, design or food.

Engaging users with an interactive interface was a key aspect of the project, focusing on ease of use and informative content presentation. This project involved leveraging Javascript to craft a user-centric interface.
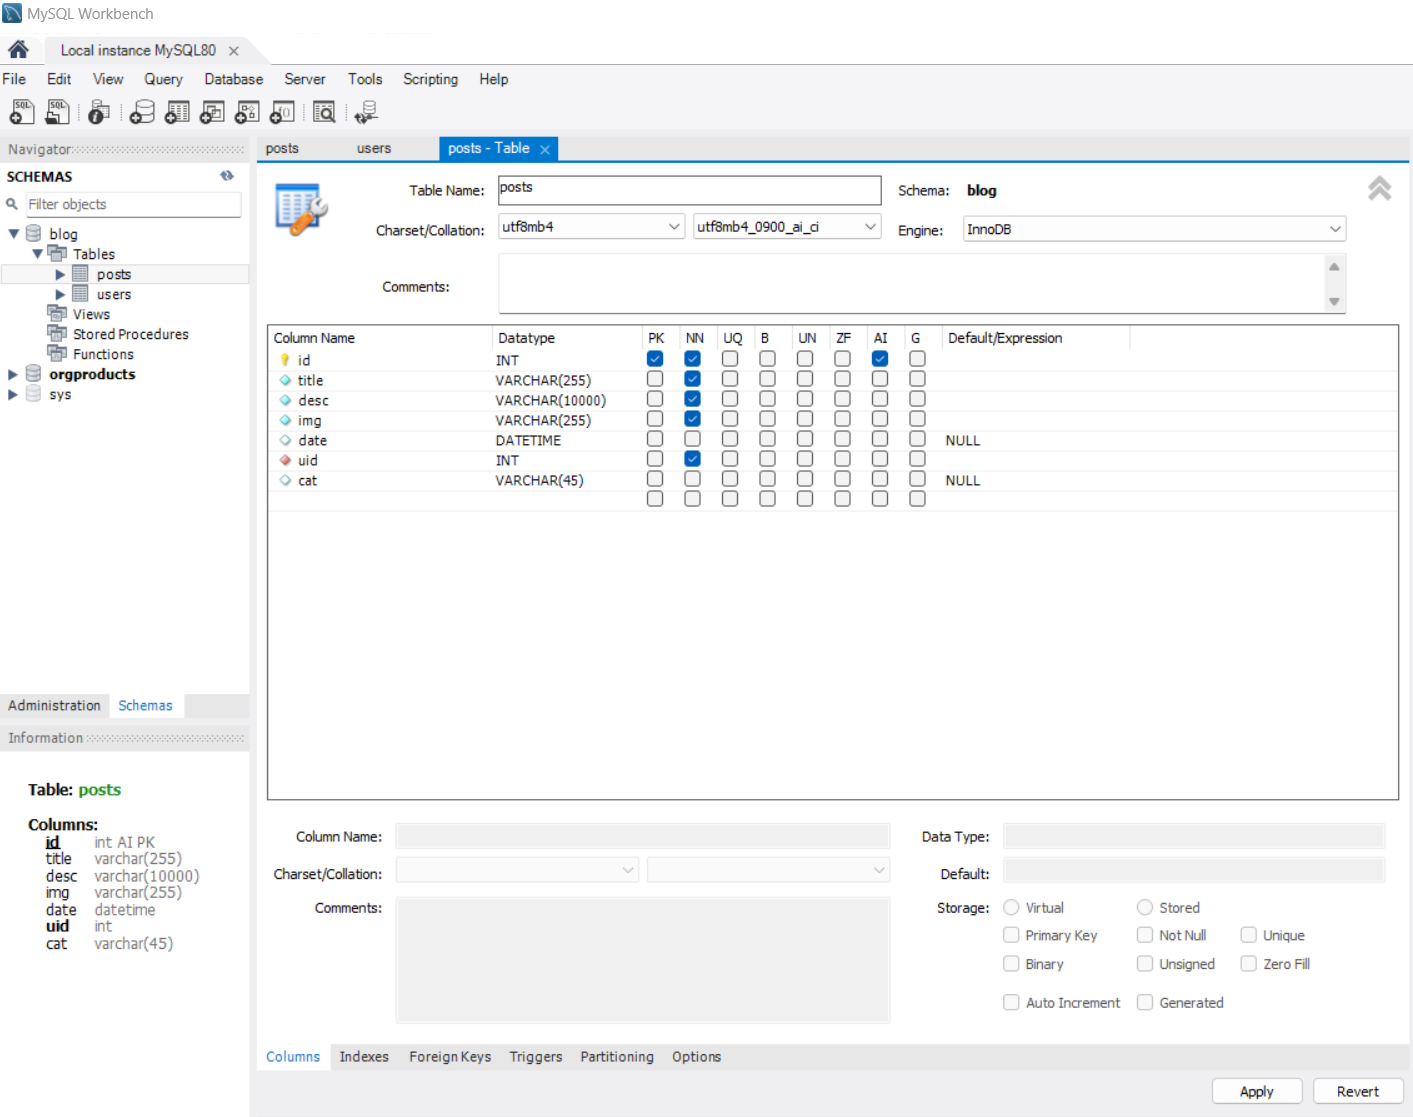
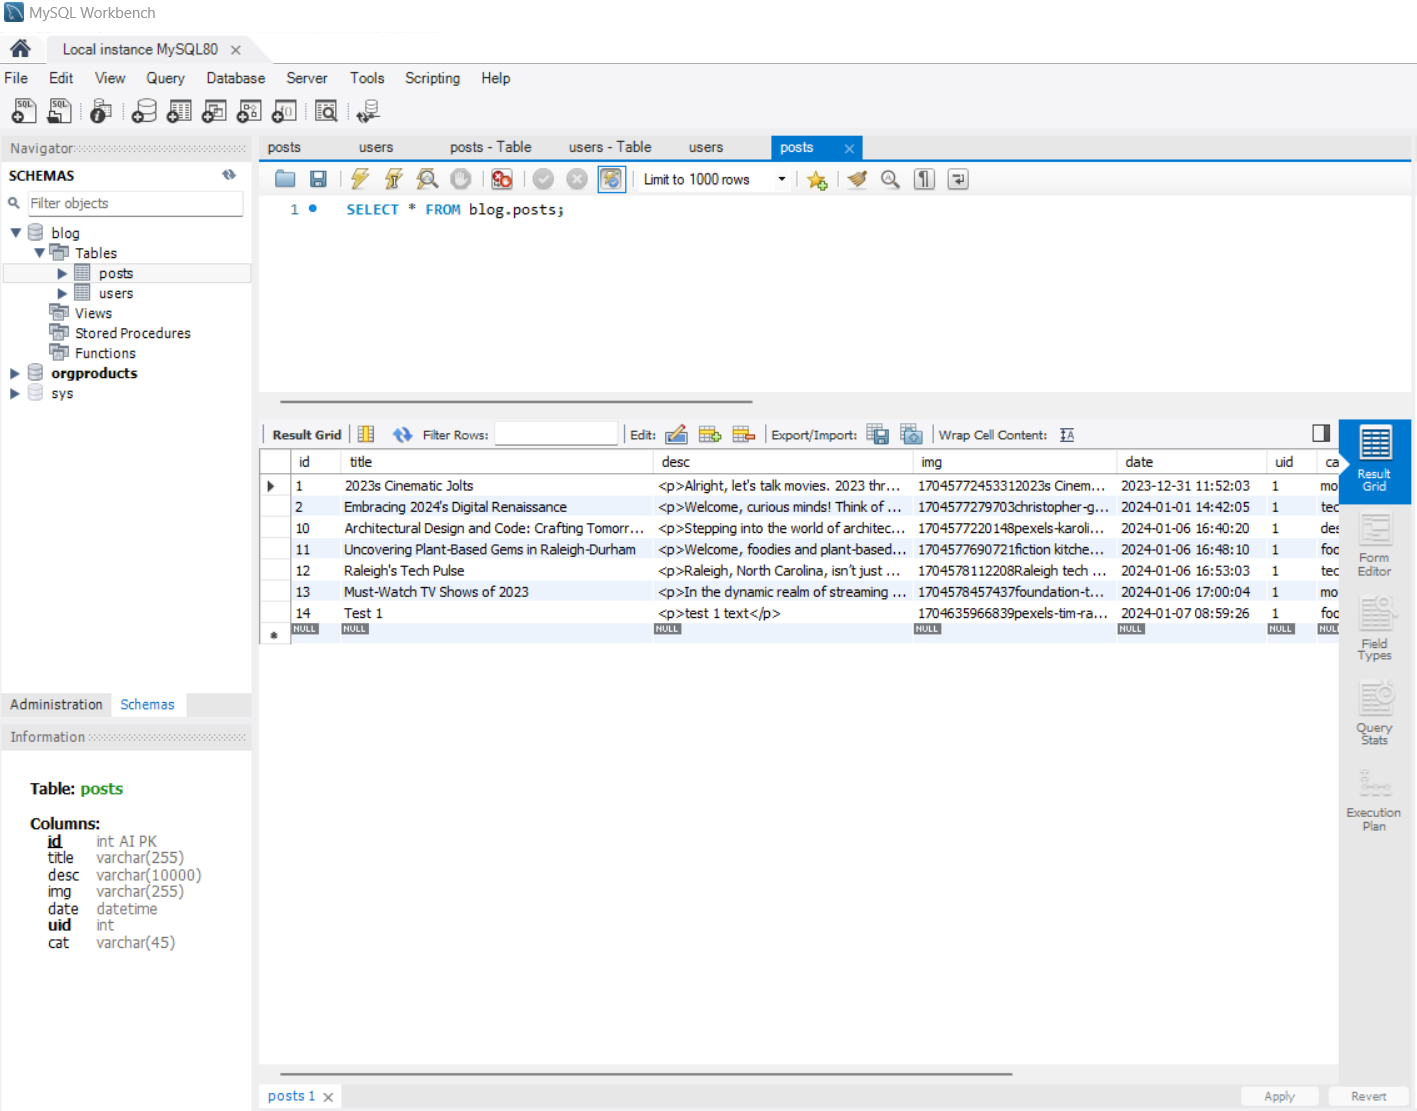
Image 1 Image 2

Example 1: Javascript

Here's an example of a Javascript code snippet for registering blog users:


      export const register = (req, res) => {
        const q = "SELECT * FROM users WHERE username = ? OR email = ?";
        db.query(q, [req.body.username, req.body.email], (err, data) => {
          if (err) return res.json(err);
          if (data.length) return res.status(409).json("User already exists!");

          // Hash password
          const salt = bcrypt.genSaltSync(10);
          const hash = bcrypt.hashSync(req.body.password, salt);

          const q = "INSERT INTO users (`username`, `email`, `password`) VALUES (?, ?, ?)";
          const values = [req.body.username, req.body.email, hash];

          db.query(q, values, (err, data) => {
            if (err) return res.json(err);
            return res.status(200).json("User has been created.");
          });
        });
      };
    

Example 2: Javascript

Here's a Javascript code snippet that demonstrates the creation of posts and backend authentifications:


                           export const addPost = (req, res) => {
  const token = req.cookies.access_token;

  if (!token) {
    return res.status(401).json("Not authenticated!");
  }

  jwt.verify(token, "jwtkey", (err, userInfo) => {
    if (err) return res.status(403).json("Token is not valid!");

    const q =
      "INSERT INTO posts (title, `desc`, img, cat, date, uid) VALUES (?, ?, ?, ?, ?, ?)";
    const values = [
      req.body.title,
      req.body.desc,
      req.body.img,
      req.body.cat,
      req.body.date,
      userInfo.id,
    ];

    db.query(q, values, (err, data) => {
      if (err) return res.status(500).json(err);

      return res.json("Post has been created.");
    });
  });
};

                    
Process Step 1
Process Step 3
Process Step 3